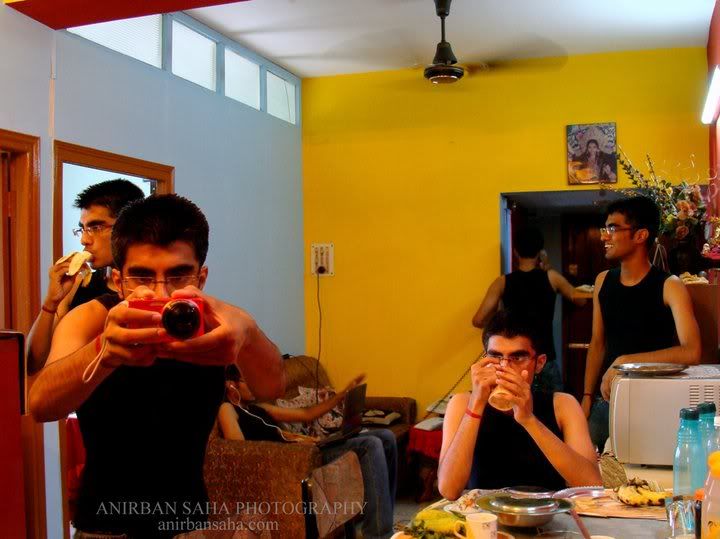
After I uploaded this photograph containing 6 Anirbans’ [me 😀 ] few people asked me how this is done. This is an attempt to write a tutorial for it.

If you like the photograph, show support. Click on the “like” for “Anirban Saha Photography”:
Another example of this type is:

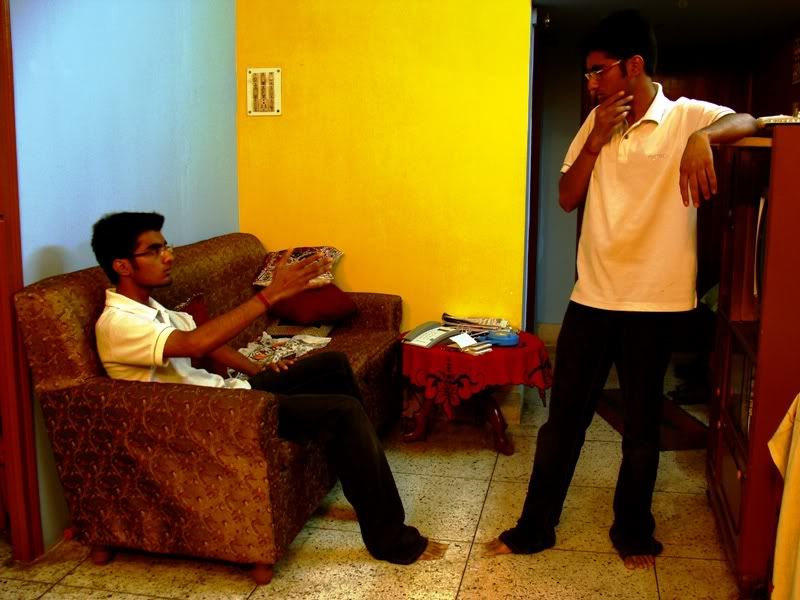
First we click two separate photographs, containing the object in different positions. In this case, the object is myself. I selected the area where I wanted to shoot, fixed the tripod and the camera on it.. so that in both the photographs I get an almost exact same frame. I used timer, and just after I clicked the shutter… I went and posed 😛
Shot the two separate photographs:


and then I opened Adobe Photoshop. I put one photograph over the other (upper) and erased the portion which did not have the object. Thus exposing the object in the layer below the upper one.
This same method can be used in case of the object even if it appears for more than 2 times. We just need to be a bit careful of our positions and how we cut the portions accordingly.
A theme is expected, as that I feel will add a certain meaning to the photograph. So the final photograph that we have after working upon these two photographs is what the above example photograph is like.
You can now work upon the photograph and adjust colour, contrast and whatever you might just wish to, to make it look more probable and realistic. Please leave a feedback for me here…
- Test Post for Mobile Version Code Testing. - December 13, 2025
- Hoolock Gibbons in India: The Singing Apes Fighting for Survival. - June 10, 2025
- Finding Tagore in Germany & Czech Republic. - January 26, 2025

areee wahh this one is too bhaaalo =D
try it out mam
Awesome …just awesome 😀